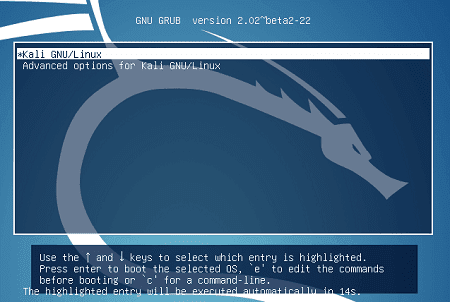
How To Recover Grub After Installing Windows | Ubuntu / Kali / Debian Linux
How To Recover Grub (Kali Linux Boot Menu Entry) After Installing Windows
For this you need:
1. Ubuntu (or Any linux) Live CD / USB
2. Eyes to read and Fingers to Type some commands
Step 1. Boot from the Ubuntu / Kali / Fedora (any linux) live disk OR USB
Step 2. After the 'Live CD Desktop' loads up, Find Terminal.
Step 3. After the Terminal comes up. Type the following commands:
#sudo mount /dev/sda10 /mnt
#Note that here for me the root ( / ) of my Kali Linux was on device '/dev/sda10'. For you this would be different and you should check this out under 'Disk Manager' in your Live CD. You are looking for the partition number of your main partition#for i in /sys /proc /run /dev; do sudo mount --bind "$i" "/mnt$i"; done
#sudo chroot /mnt
#update-grub
#grub-install /dev/sda
#update-grub
Step 5. That's it. Exit the Terminal and reboot.
Note that sometimes you may loose the entry to your Windows OS after these steps. But all you need to do is run these 3 commands to get it back:
#apt-get install os-prober
#os-prober
#update-grub
#apt-get install os-prober
#os-prober
#update-grub
Update
I recently lost Linux grub again after installing Windows 7 on my laptop and this time I decided to try an ISO called 'boot-repair disk'. I had heard of this a lot and seems to be the tool of choice for people who don't want to get their hands dirty using the linux terminal.
The tool is pretty good in that it does what it is meant for, without any glitches. This is all you have to do:
1. Download 'boot-repair disk' ISO
2. Burn it to a CD or make a bootable Pendrive
3. Boot into the boot-repair disk ISO
After that, it is all automated. As soon as you boot into this live disk, it will automatically begin mounting all your file systems and looking for grub. Once it is located, it will be restored automatically and at the end a message will be displayed to you.
So if you are someone who isn't all that thrilled about typing commands on a Linux terminal in the method I discussed previously, this ISO is for you.
References:


